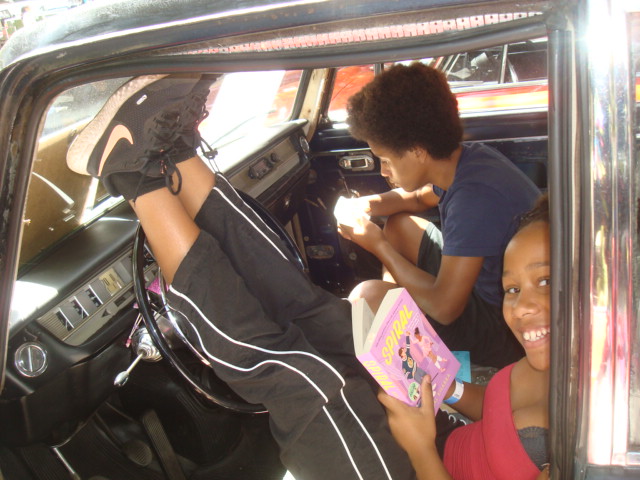
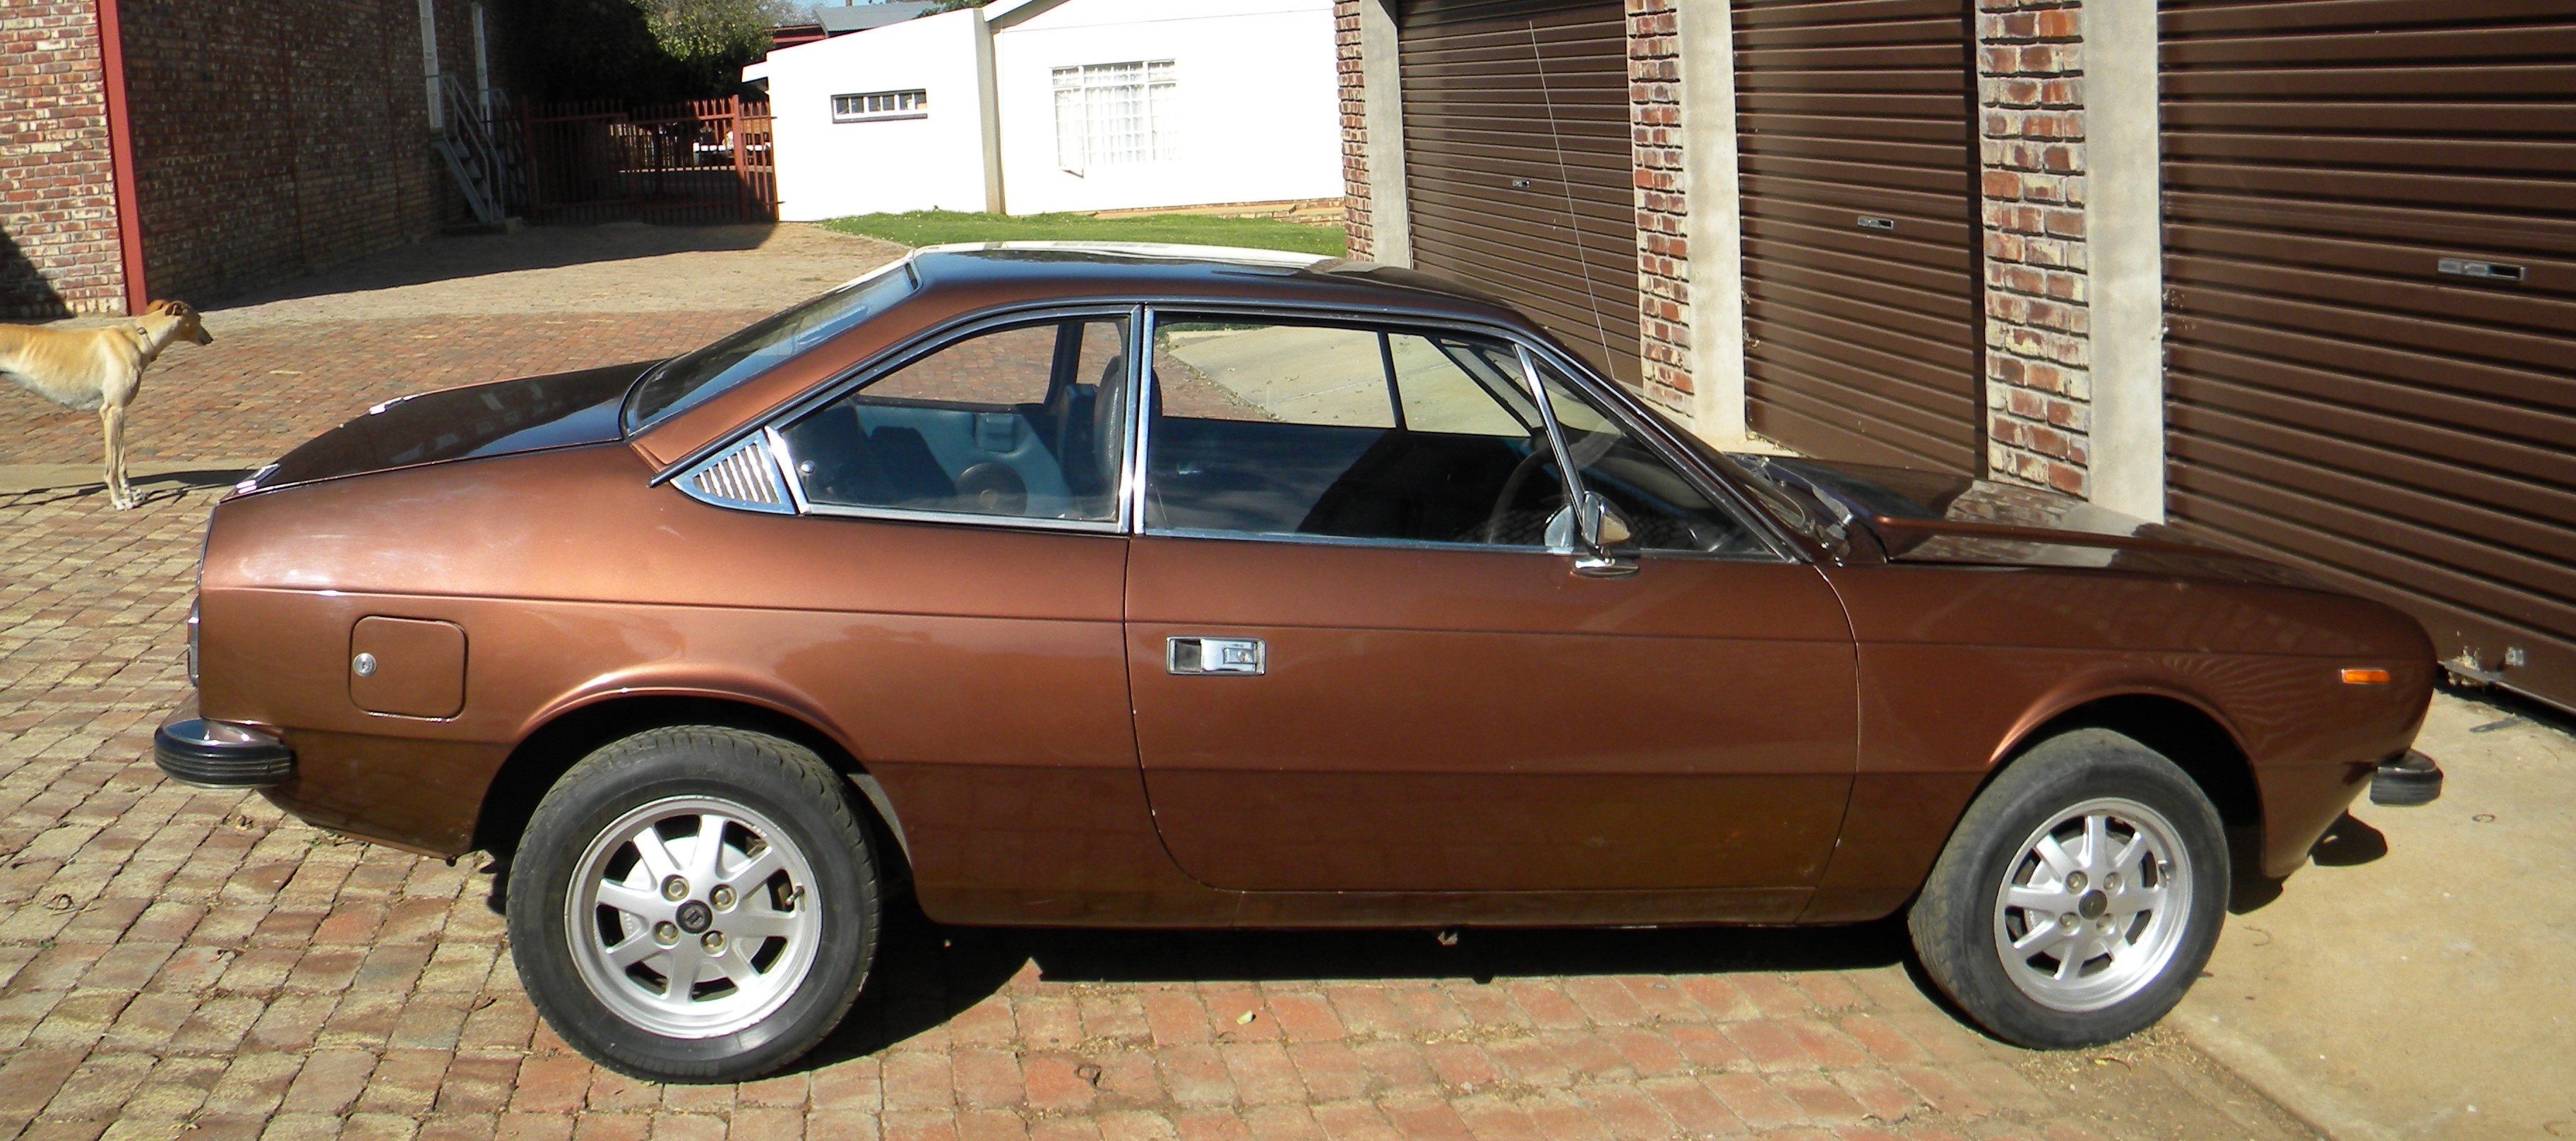
It has been a while more like 5 years, way before the museum was build and the workshop was still on the elevated level, that a father and a son came all the way down from the free state. In tow they hard a dark metallic brown Beta coupe 2000 S2. On first sight the car was not too bad, but the owner was quick to dampen my optimism and pointed out that the car was actually pretty bad. Only today I know how right he was. While the body just had the usual rust bits, some strange transformation had happened to the inside of the car. It was fitted with a complete interior from a FL car. And it was in a scruffy condition. Seats and door panels had been transferred before, but never the dashboard, as this had far reaching consequences as we will see further down.
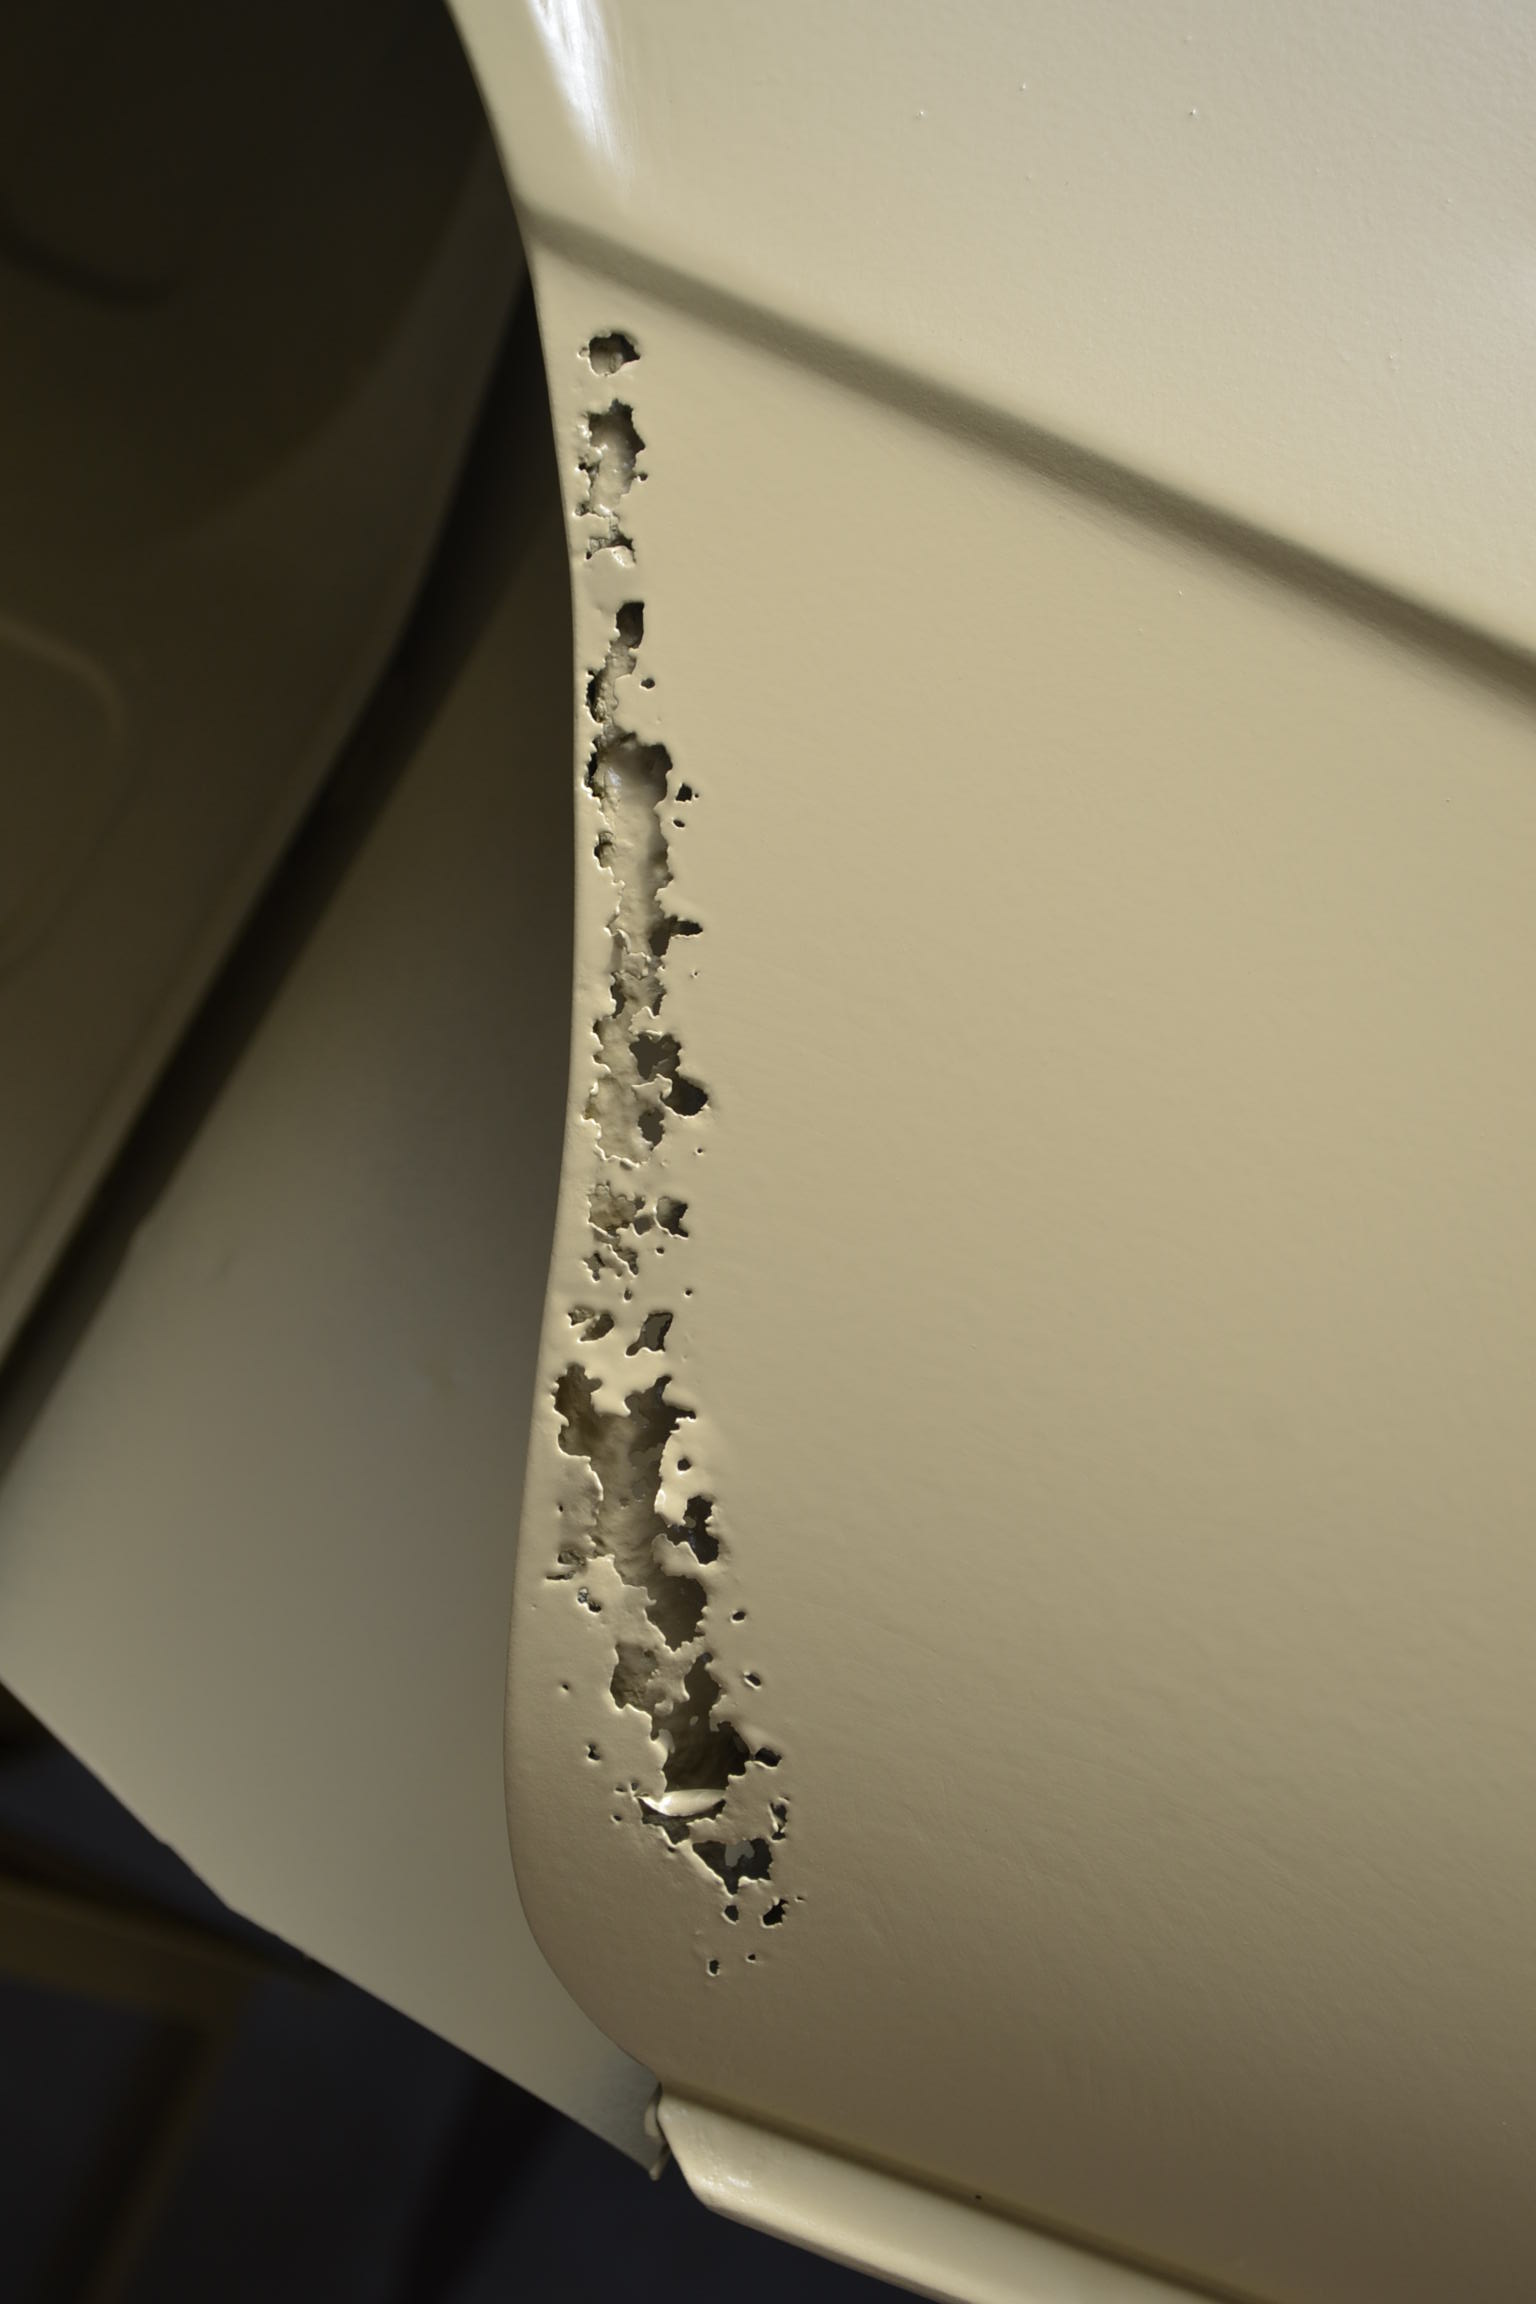
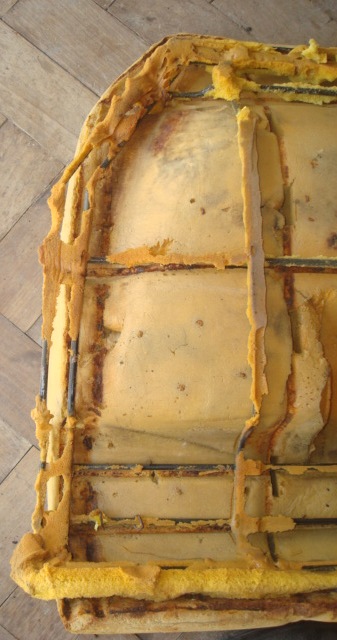
Not surprising, after the blasting we had a piece of cheese.
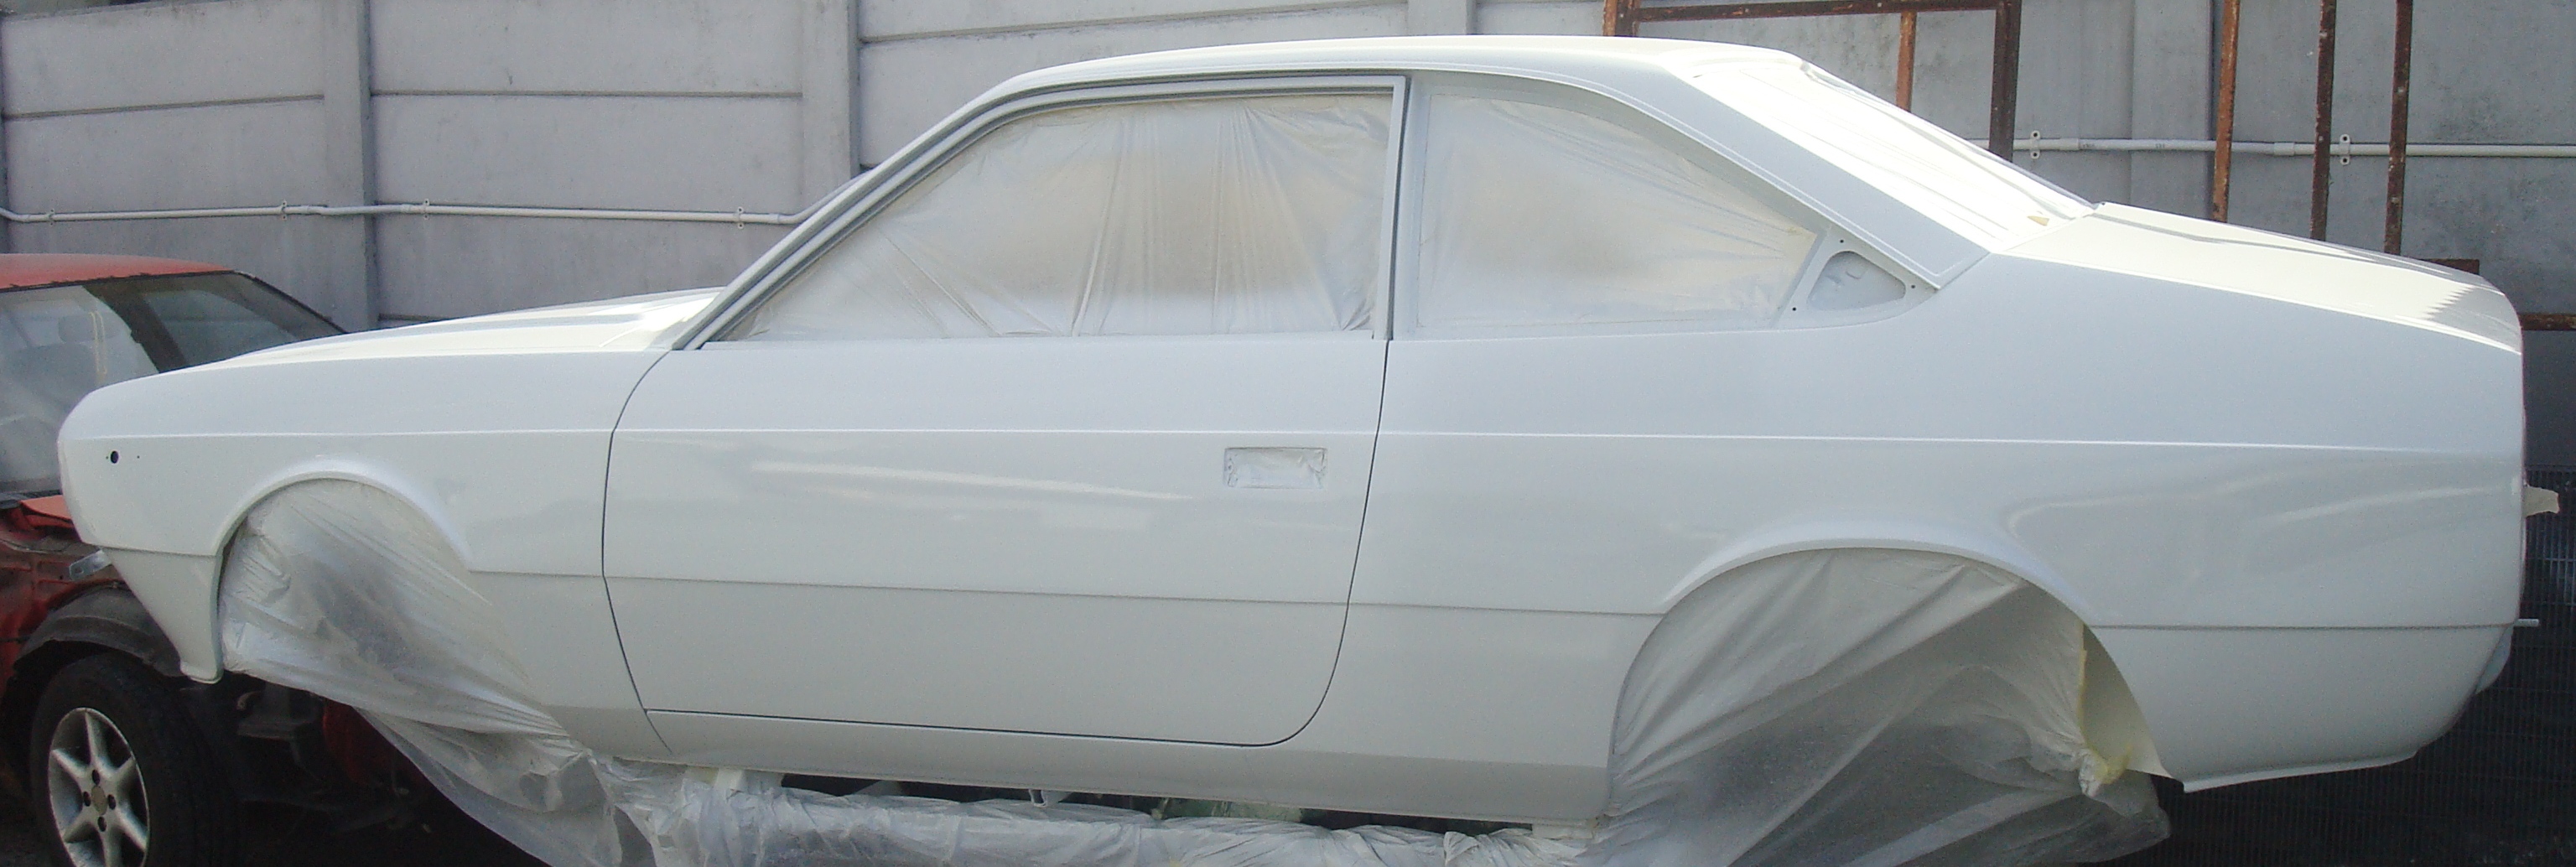
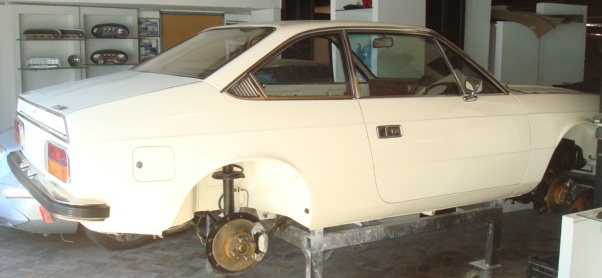
It was a long, adorous and naturally expensive journey to have the car finally painted in Lancia Bianco Dover
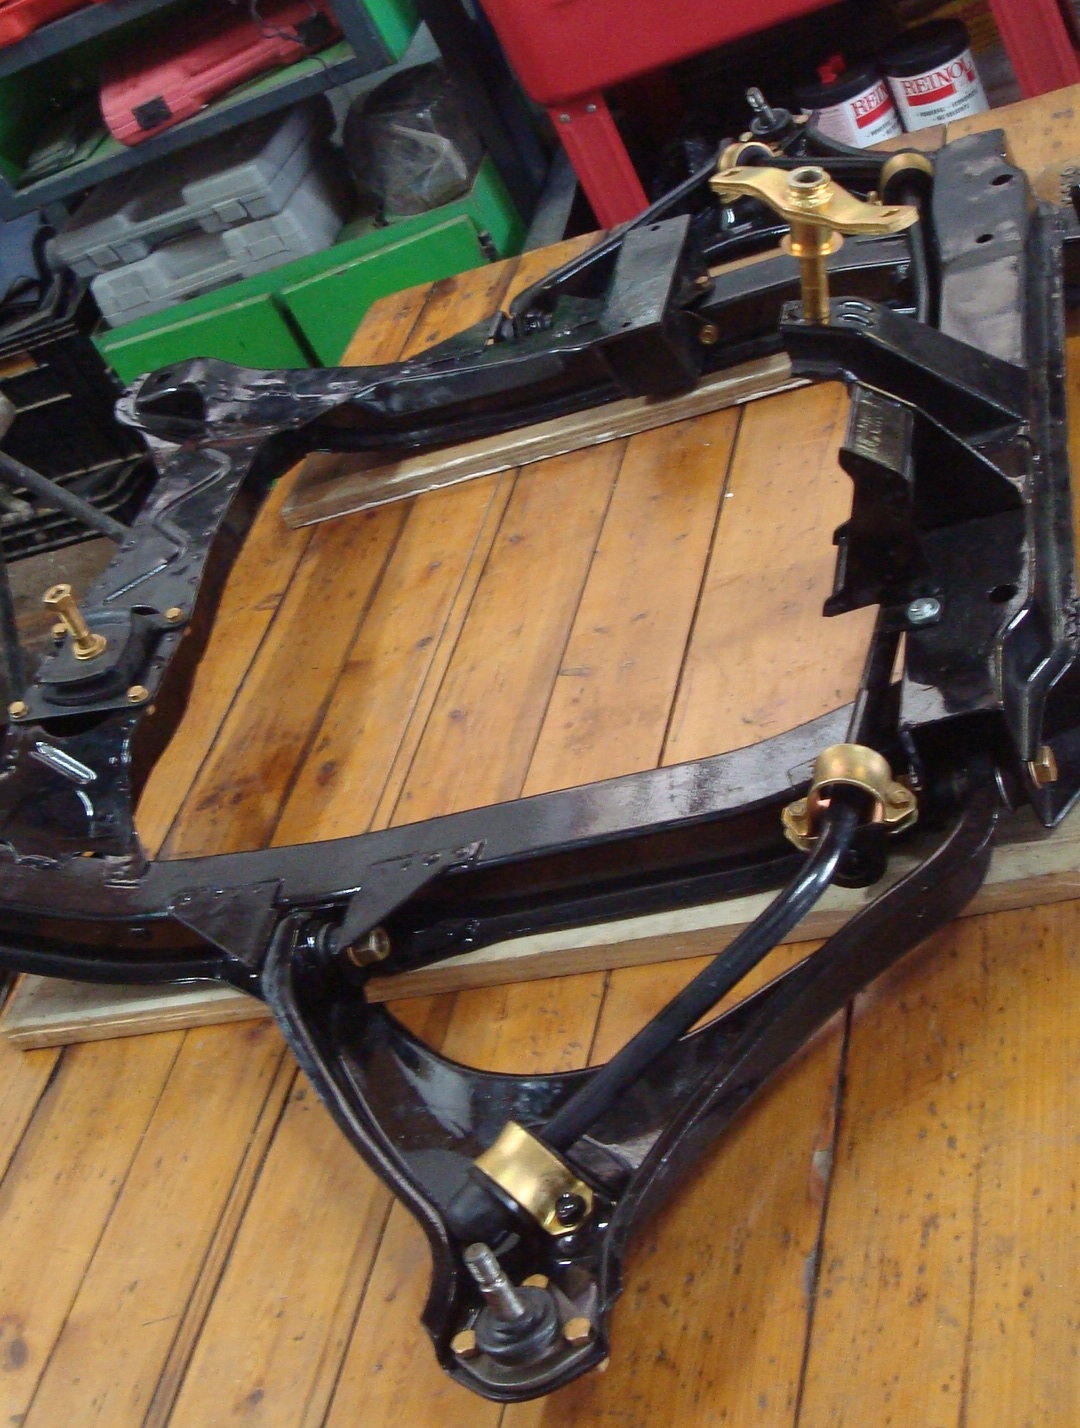
All mechanical items were sprayed with black epoxy coating as per factory specs and not powder coated as often mistakenly done

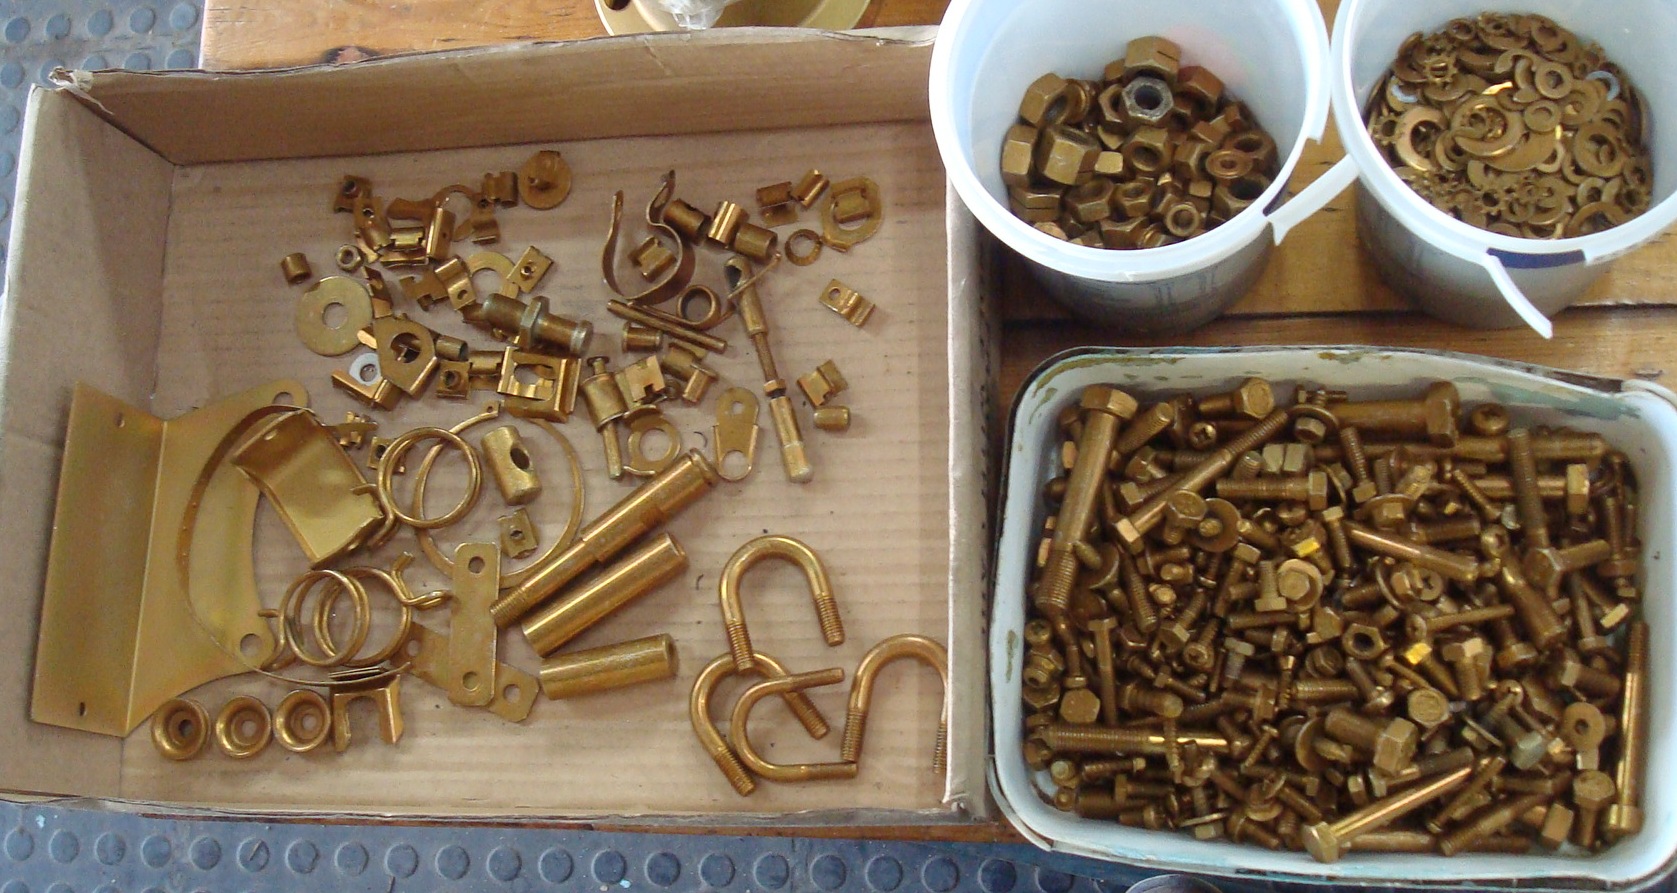
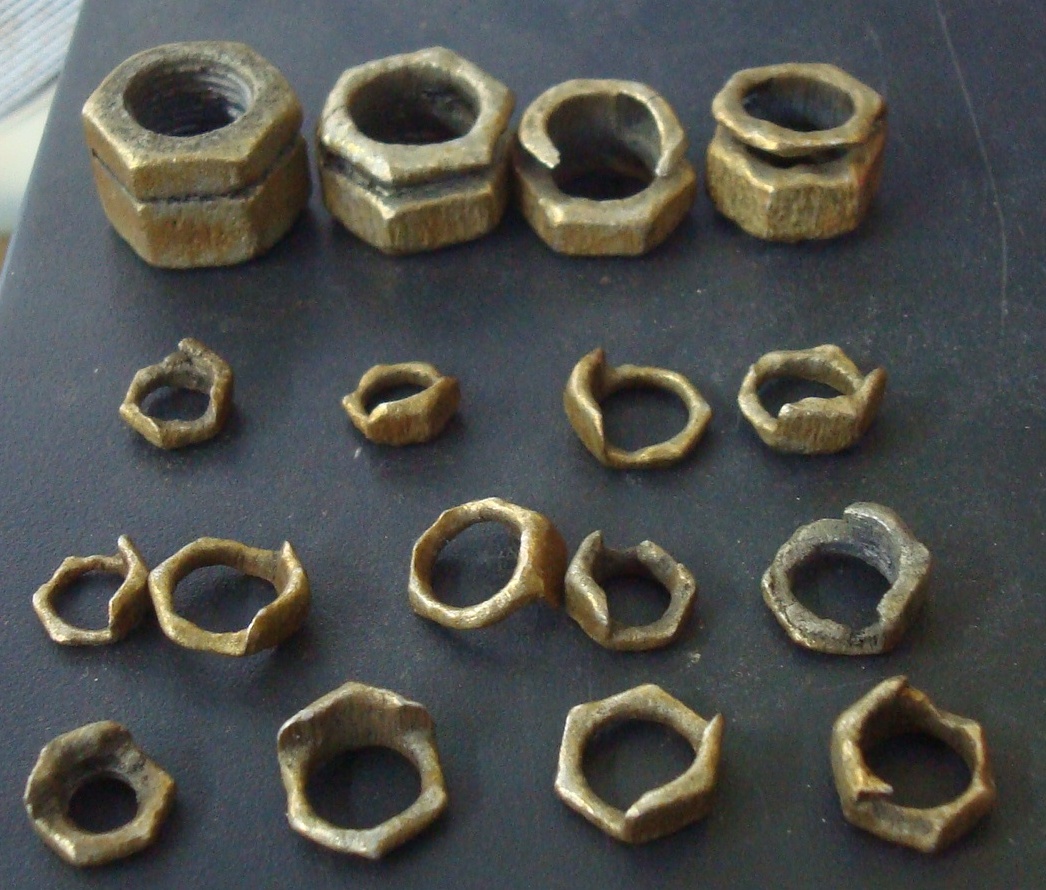
Some of the Lancia nuts did not survive the galvanizing. I don't know why.
All bolts were galvanized and now we have a pretty sub frame
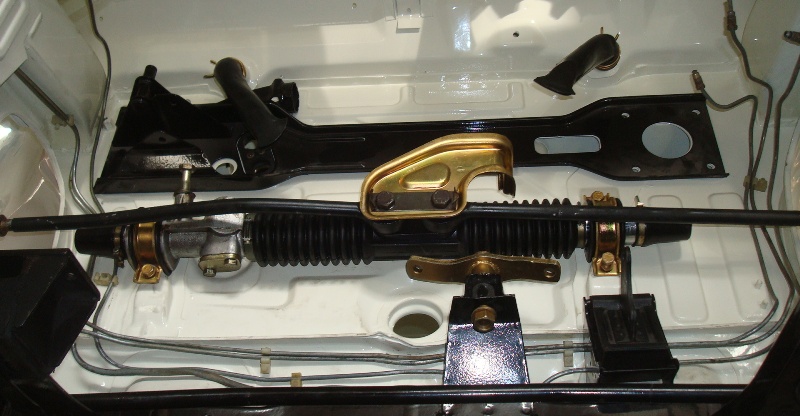
The steering rack was fully rebuild and fitted.:
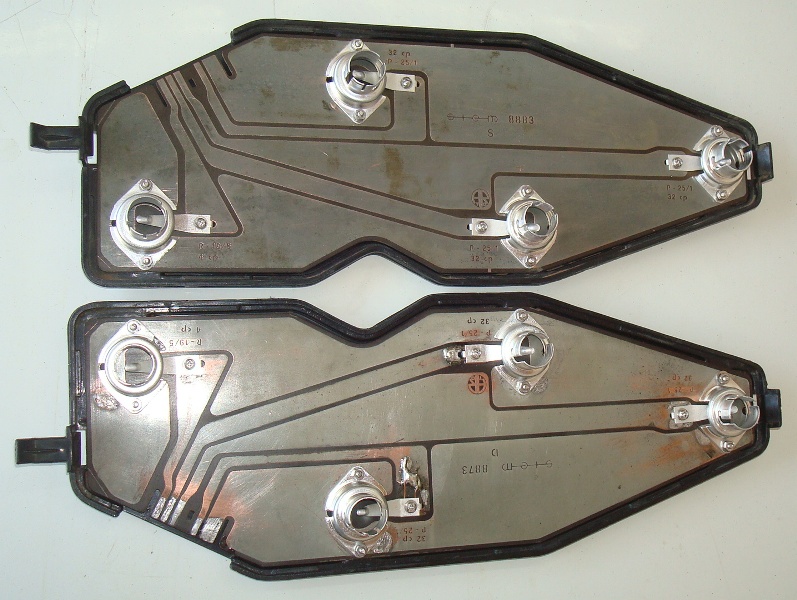
All the light units were fully rebuild and fitted
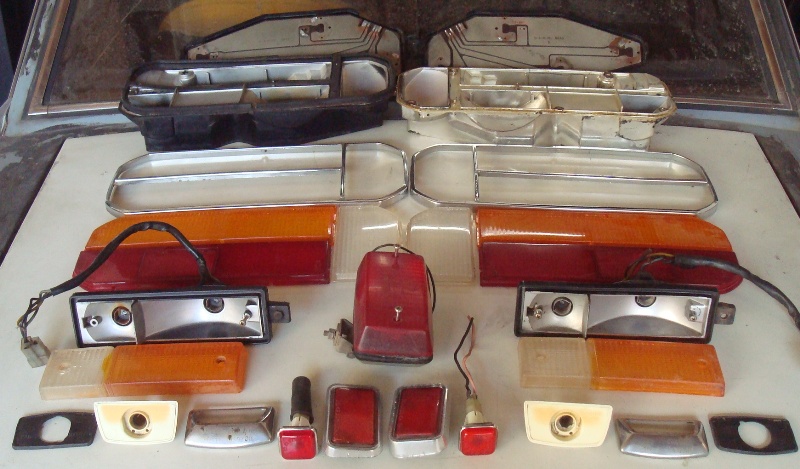
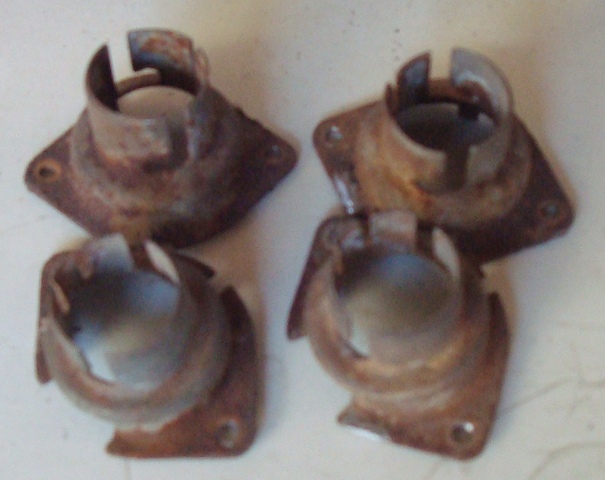
I even went through the trouble of removing and galvanizing the light fitting, something I have never done before, but that is the only way to ensure reliable contact.
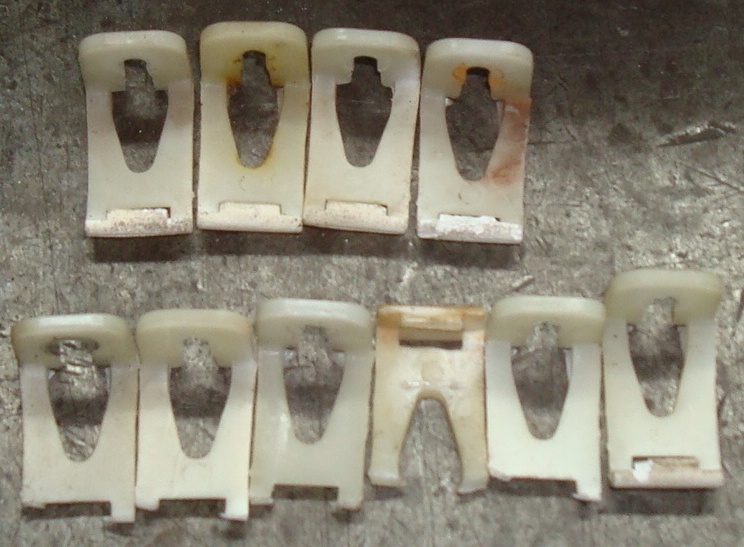
But now we get the first obstacles: The square front headlight are a specific ffeature of this model and were in good condition apart from the clips holding the reflectors which were all but broken. We did have a mould for them and had them produced int he past, but the new owerns of the moulding factory have been unable to replicate that feat and returned the mould and the sample after a full year of waiting. So we are back to square one. Next stop is the 3 D printer.
The frames of the rear quarter windows was beyond redemption
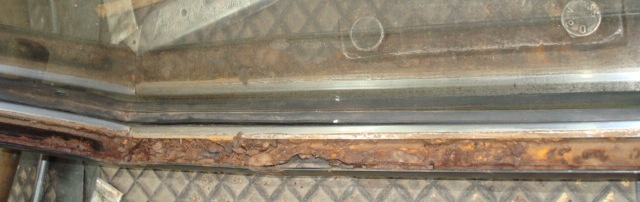
The only way forward was to use the stainless frames from a later mode. Not original, but better.
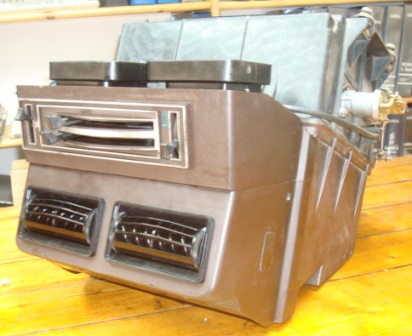
The heater box was incomplete and it took to days to find the missing pieces and to build a complete unit.
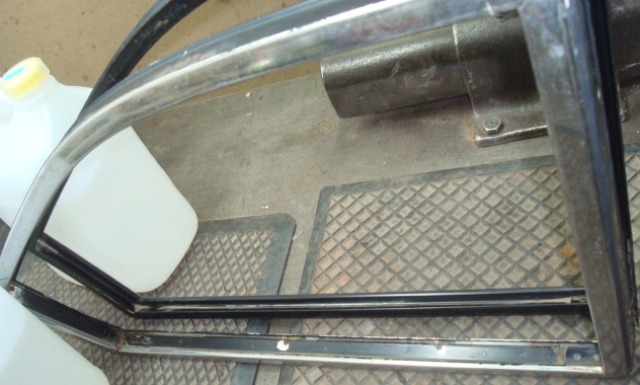
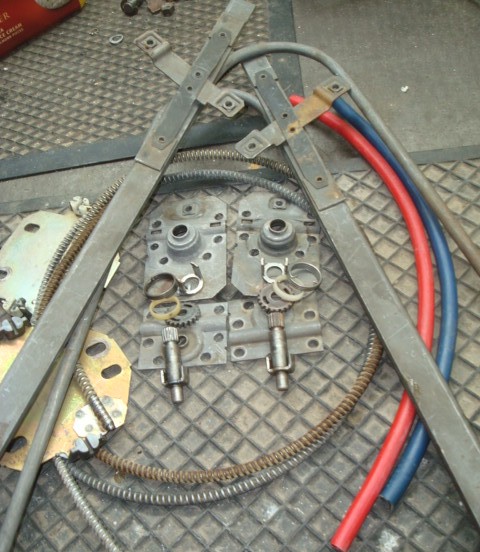
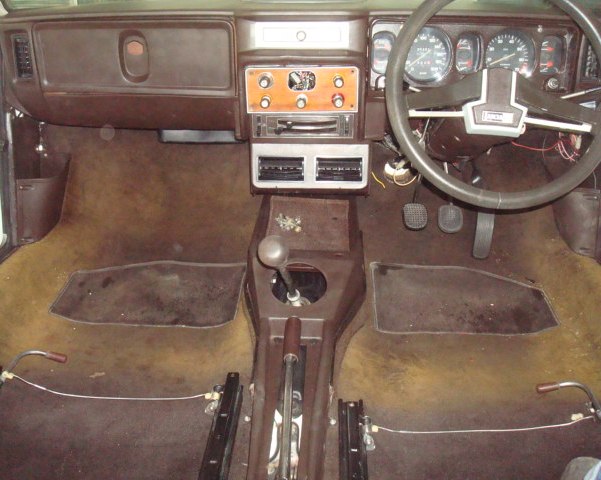
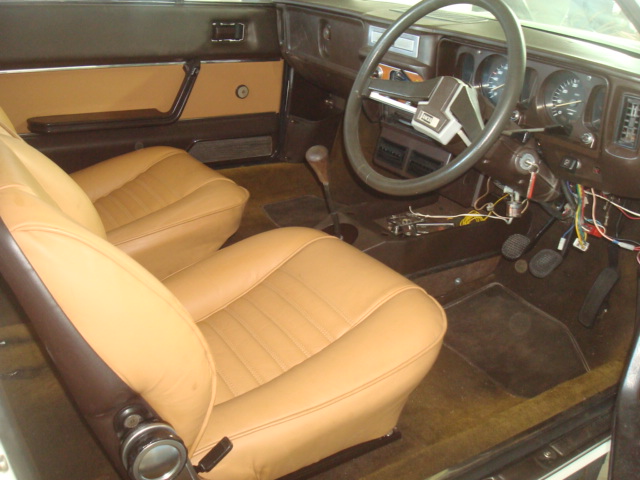
Ever wondered how a RHD Lancia works ? Below you can see the full setup..... how clutch and brakes were transferred to the other side.... what a contraption. Better get a LHD car .

For many years the Lancia Beta ignition lock has been a issue. It was simple unobtainable on the free market if you discount the occasional Ebay offers for ludicrous prices. The ignition lock of this car was badly burned:
But even the other damaged units in stock were not much better. I spend a whole day, making one out of 3, a truly nerve wreaking process, as the tumblers s and springs are very small.
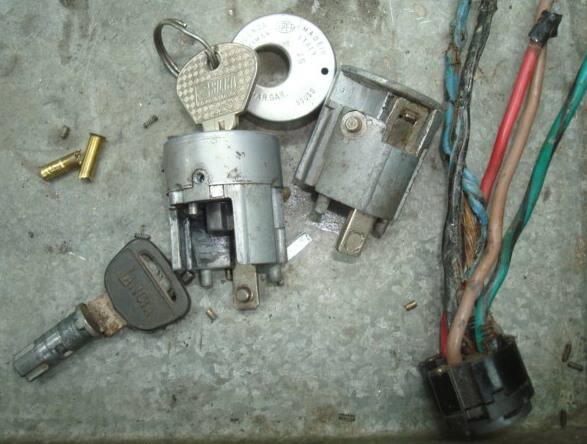
I was relieved when in the evening I finally had a working unit.

and all is well again
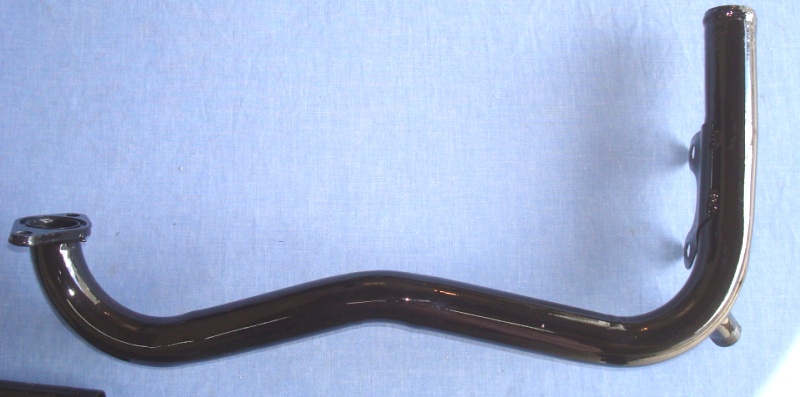
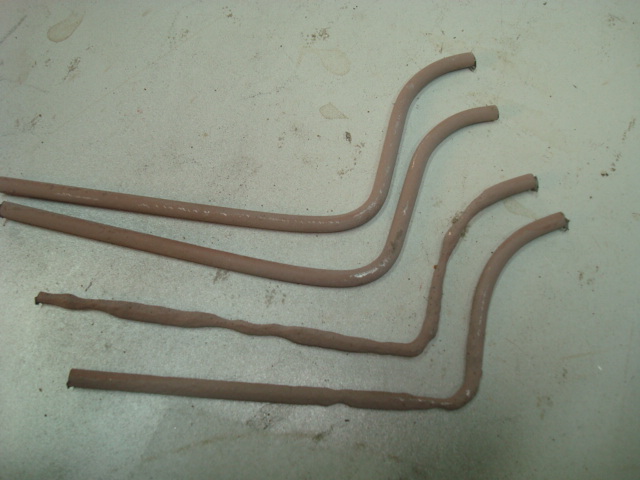
Being exposed to aggressive tap-water for decades, the pipes are normally very rotten. They have been rebuild and epoxy coated.

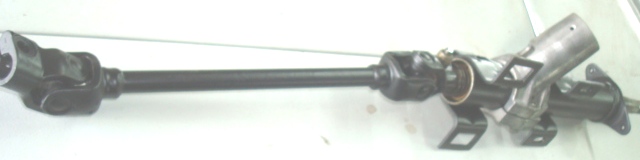
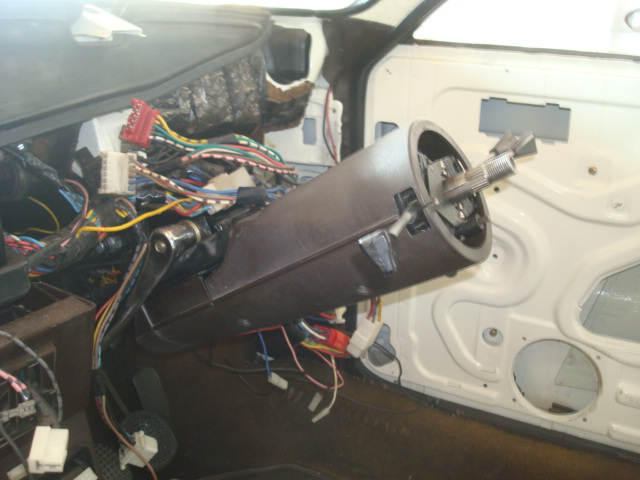
A easy part was the steering column: remove bearings, paint and re-grease
but now we find that the plastic cover over the steering column does not fit. How can that be. After researching the parts book as well as the store we find: indeed, Lancia lengthened the steering column in the FL series. So the previous team wanted to fit the FL plastic covers and filed, , so they took the whole thing form the donor car, now we have to reverse that operating as well:
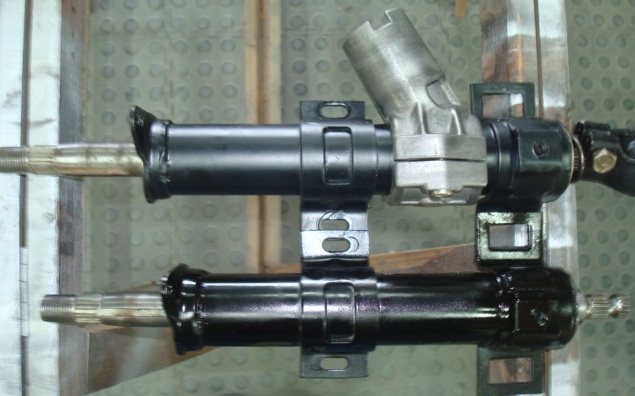
Now it fits miraculously
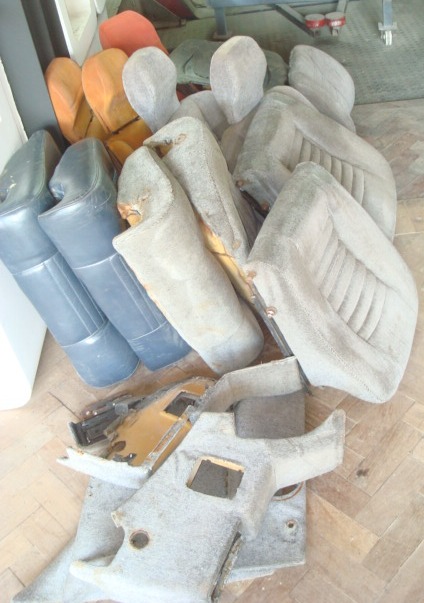
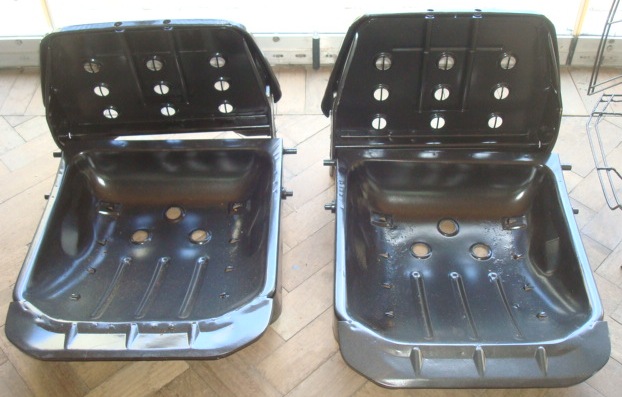
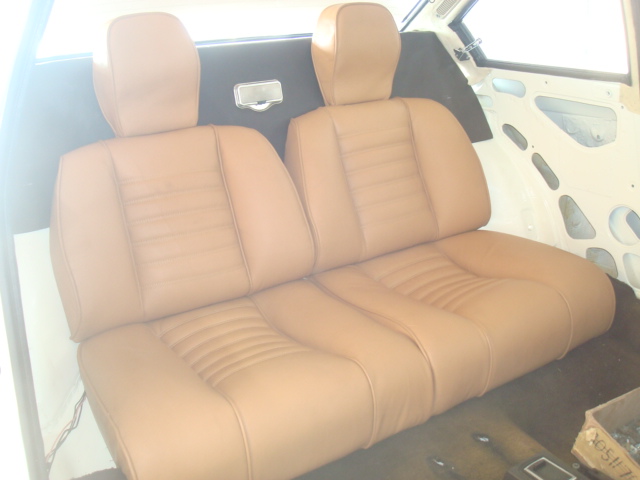
A major trouble were the seats, as what we had was useless. By a steak of luck, somebody in the Cape Flats stripped a S2 coupe that was standing in his yard for years. While I was too late to rescue the whole car at elast I was able to slaved quite a few parts. They were in terrible condition, but at least the right parts. So we started with this:
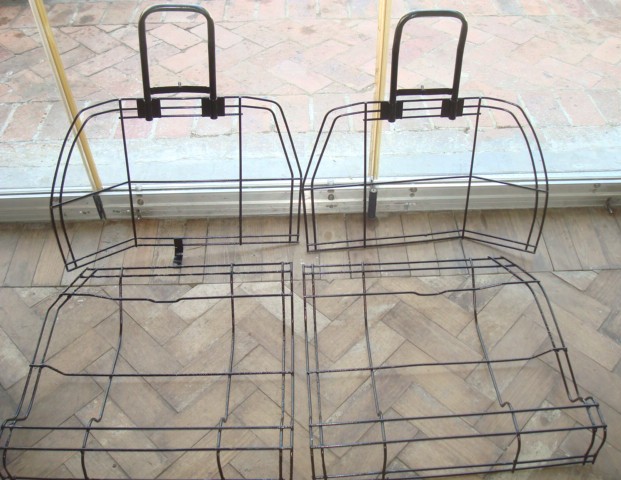
The rear seats sit on a wire frame, which were very rusty:
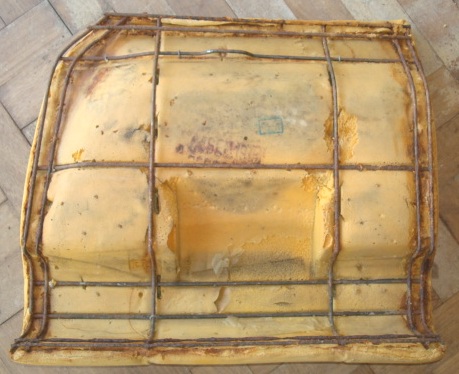
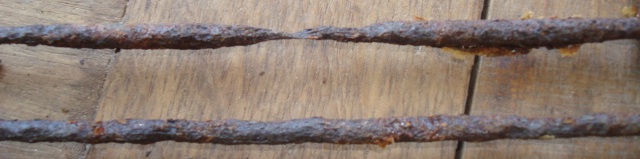
The frames that came with the car were in very good condition, but they had the wrong shape. The FL model even had different rear seats shapes due to the redesign of the rear side panels. Whatever we had in stock I had used on my own car years ago. So, we had both grids blasted, and then I cut/paste the pieces from one frame to another:
Eventually all the steel work for the seats was finished:
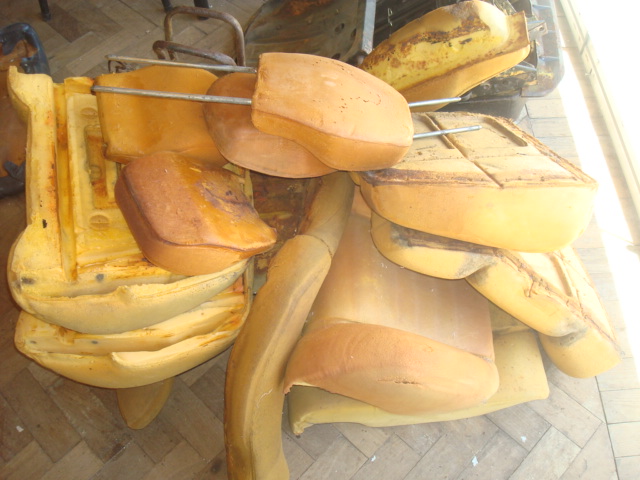
Now we have to select the foam pieces:
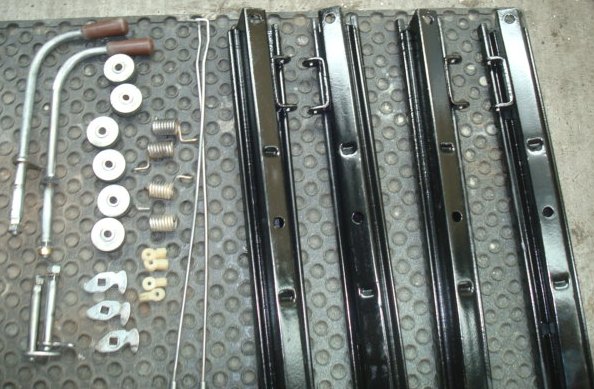
Seat runners are prepared::
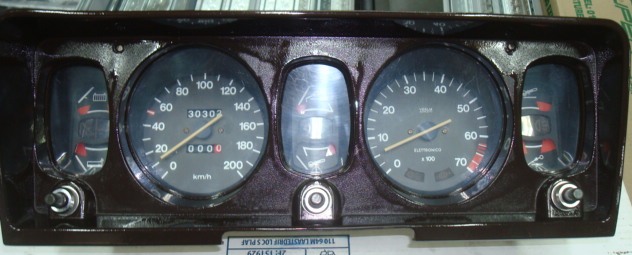
The instrument panel, was fully rebuild: There we also found in interesting detail. Ont he FL car there is a button to test your warning lights. What if your oil pressure fails and the light bulb is broken? The Lancia engineers thought about that: What I did not know that this feature was partially introduced on the S2 model albeit one for the brake fluid warning light which is no doubt the most important. The mecanism was broken and required a lengthy repair.


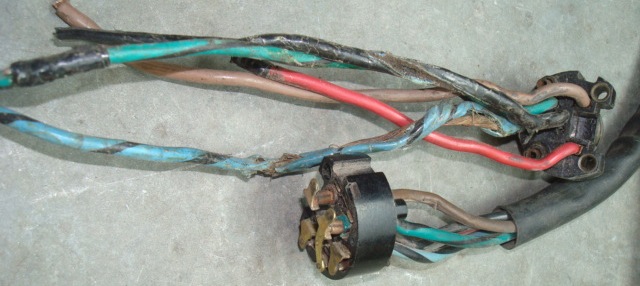
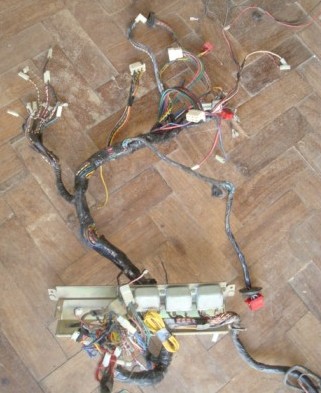
A particular nightmare were the wires, as always: The previous team nto only changed the seats, no, they wanted to do a proper job, so thjey also changed the dashboard to the FL style which is of course really 80ties. This however comes wiht different instruments and of course with TOTALLY DIFFERENT wiring. But they were nto perturbed, and just cut the wires to suit. The "fusebox" was made up from loose holders
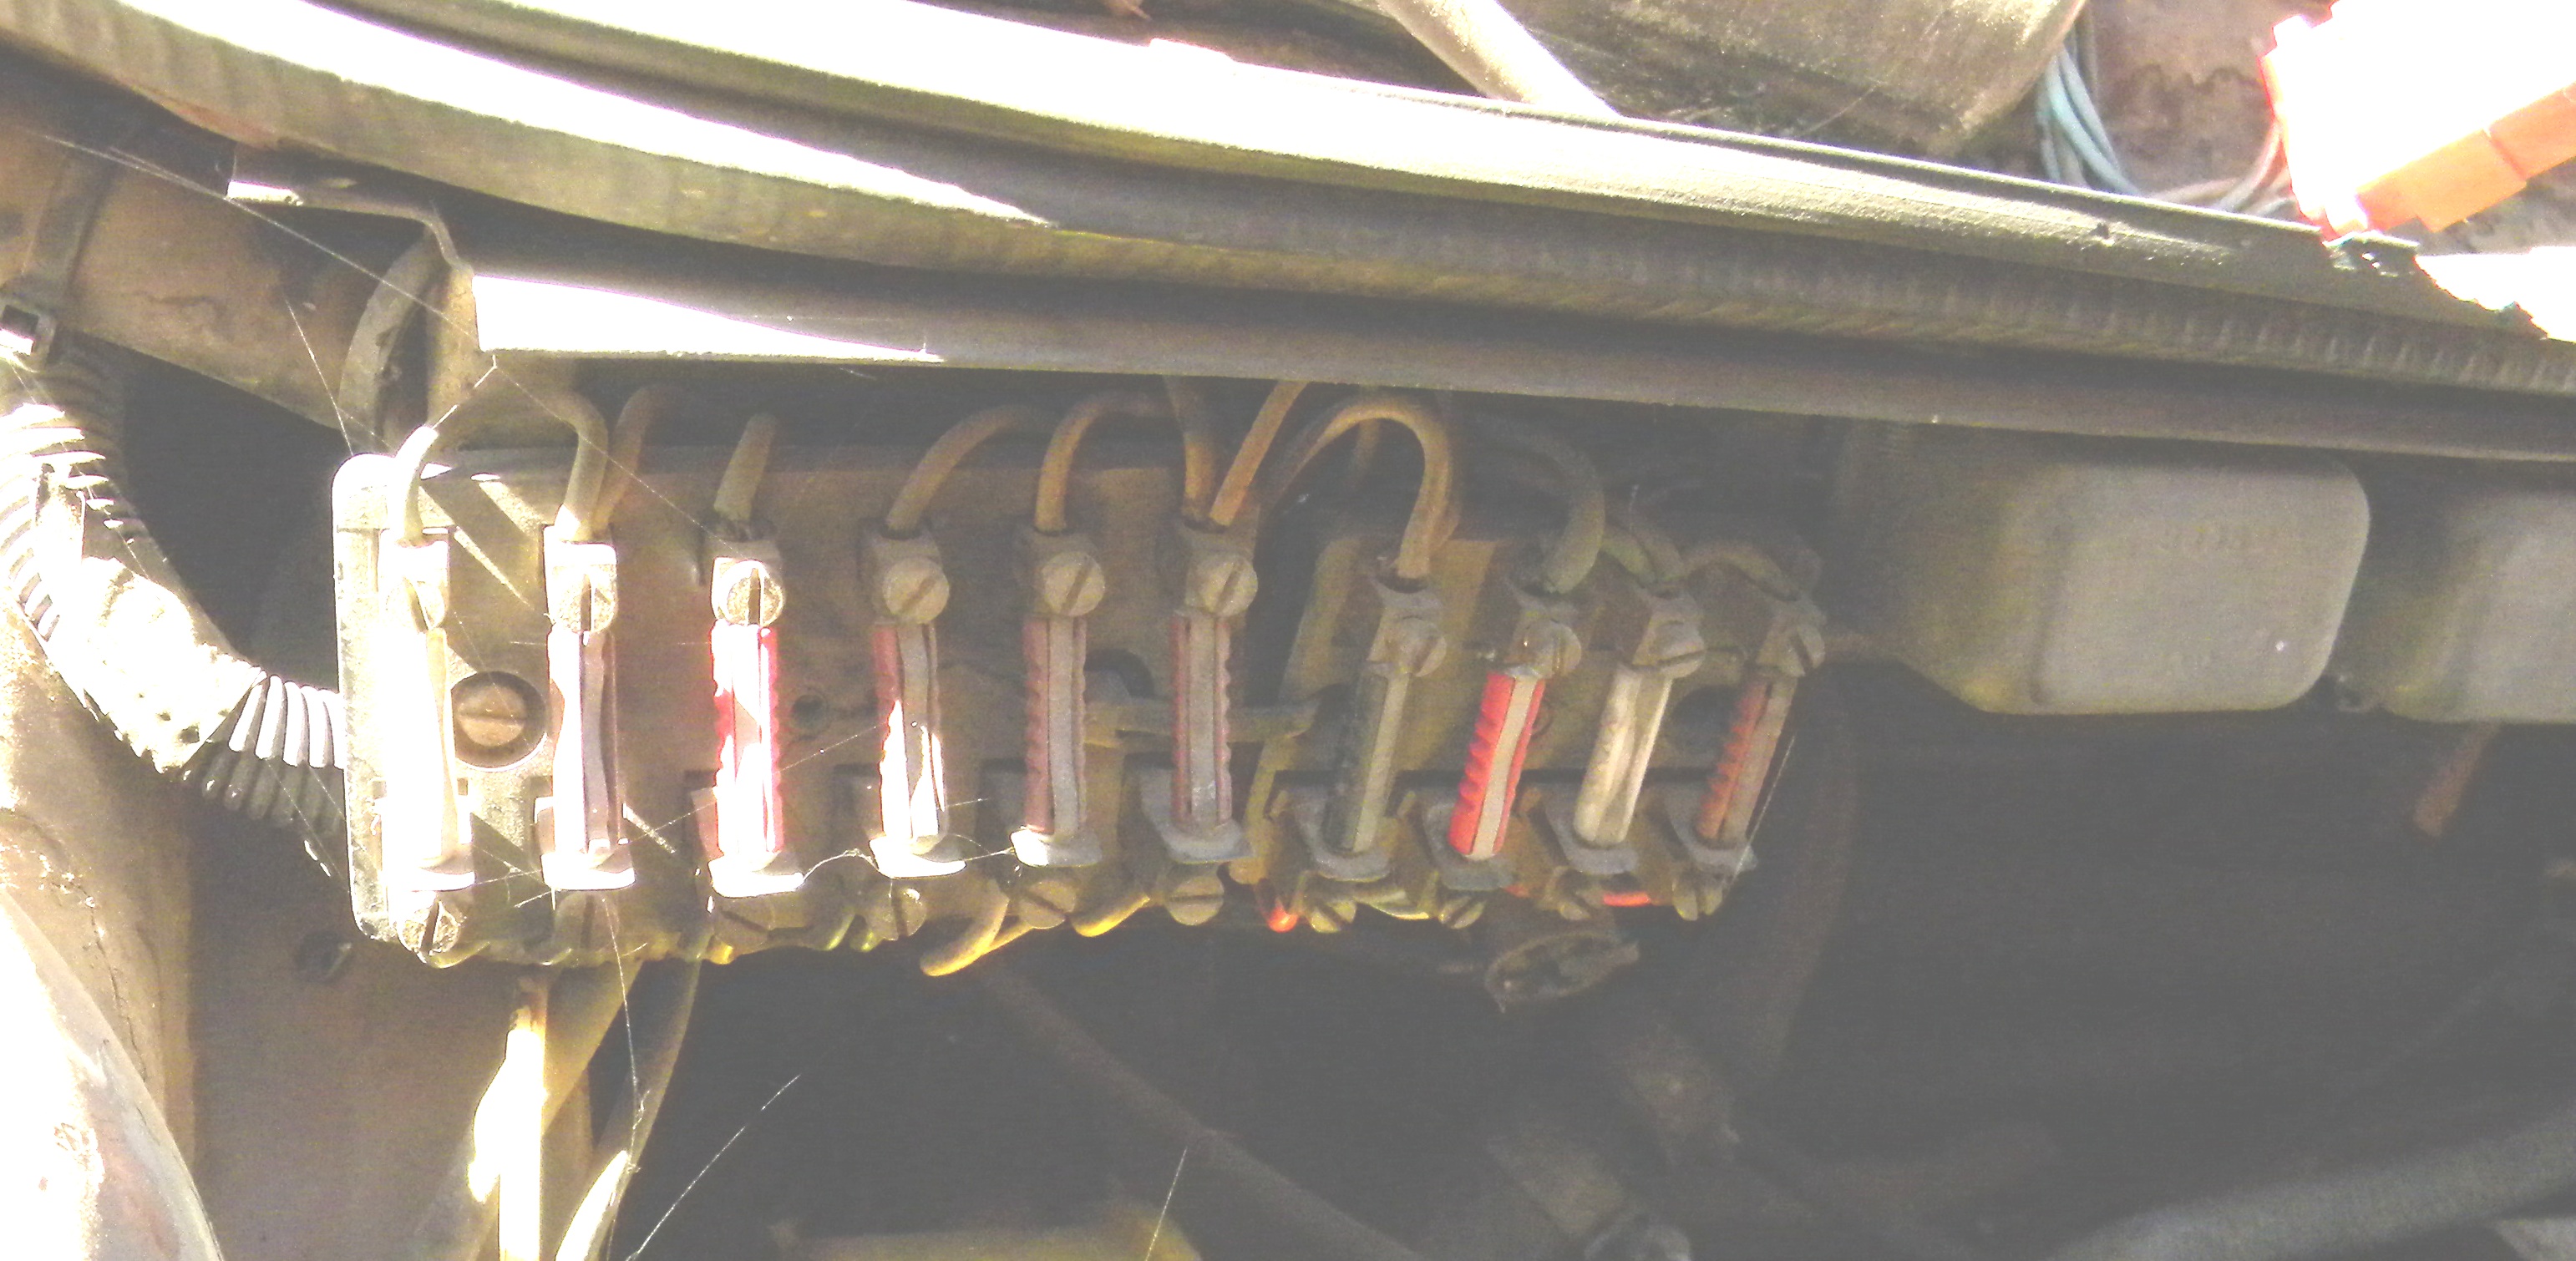
When I pulled out the wires they looked like this::

There was no way I was trying to repair this. Luckily the the old TAK stock I found a complete brand new wiring loom. I dont know what they stock that. It comes complete with the fuse box:
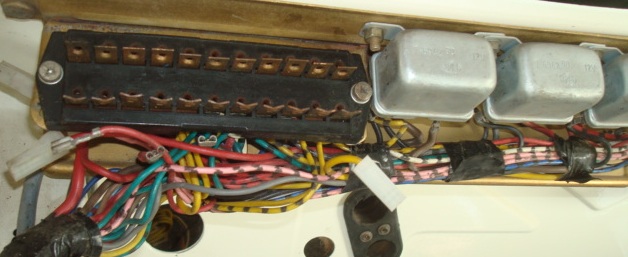
This is the correct fuse box::
While not broken, the window winders were completely stripped and serviced for good measure.
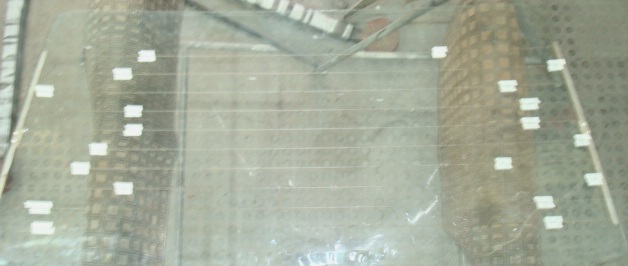
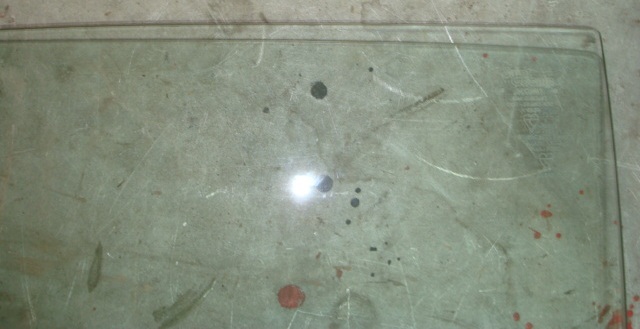
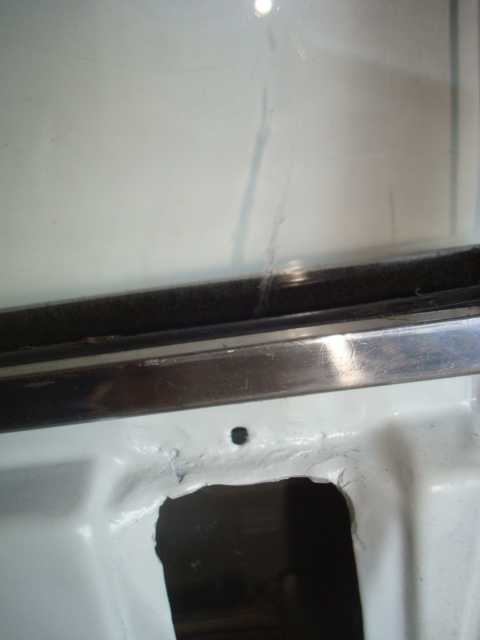
Before fitting the rear window we tested the demister wires, and found many of them broken. Now the demister is a necessity. There is commercial silver paints available to repair the tracks. However after many calls I found out that both products have been discontinued in South Africa. there my neighbor tells me I must to to Makro, and truly, they offer Chinese kits. So I order one, it gets delivered, but they supplied a headlight kit instead. So I return it to buy it again, however they delivered the wrong product, so we are waiting for the returns. For good measure I have now ordered the correct loctite product in Germany, while my son ordered another Chinese one from takealot. This was indeed the correct product. But now I find that the remaining racks have become to this from cleaning them that they have become obsolete. So the whole operation was a missive waste of time and I end up with 2 tins of silver paint at a price. I was however lucky to find another window with a working demister, which was not trivial, as all FL cars have green tint but this model has clear glass.
While we are on the issue of glass disasters: The passenger window was very scratched so I replaced it, however it did not close properly: Indeed it was a glass from an HPE which has a different roof line:
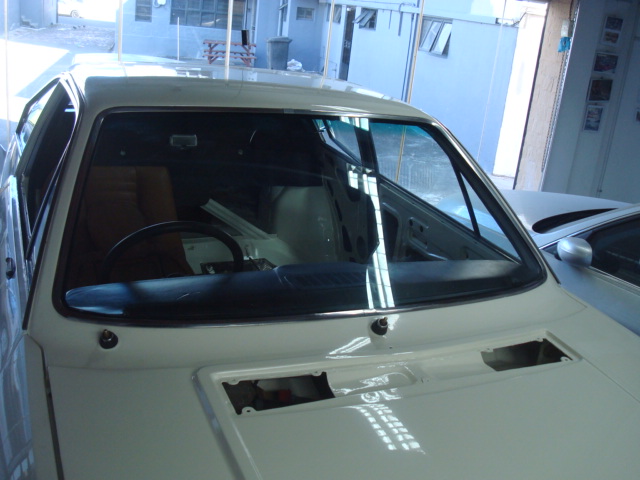
As per 01.01.2026 the car looks like this:
We finally found a skill contractor to glue in the windows. This is a difficult process as the used stainless trim is always a bit bed adn we dont have the original factory frame.:
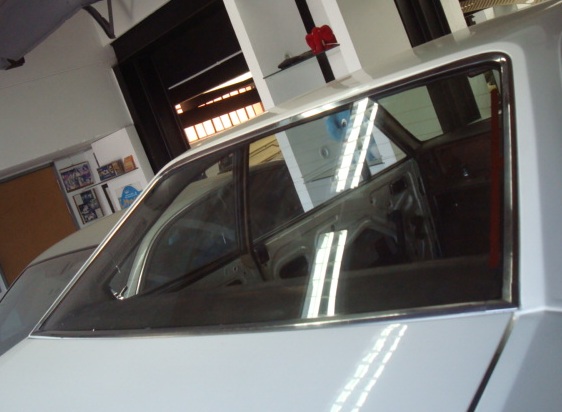
A lot of time was spend on a scratch in the right side window. Now replacement could be found as the car has got clear glass and all the later glass is tinted. However if you look closely on the image below, you can see where he scratch comes from. Certainly not from us
So now the right side is done.:
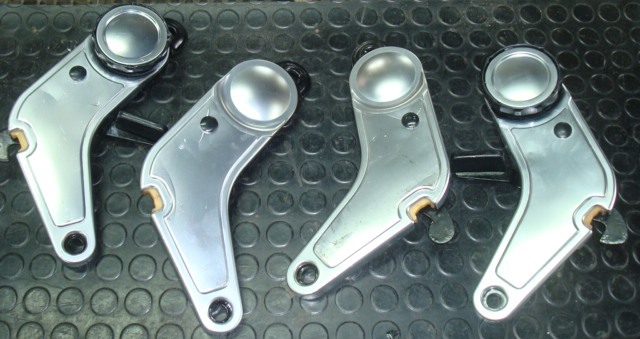
Next come the seat hinges: Another mission as our car need the early type which is very different to the popular FL type. We could just match up one pair.

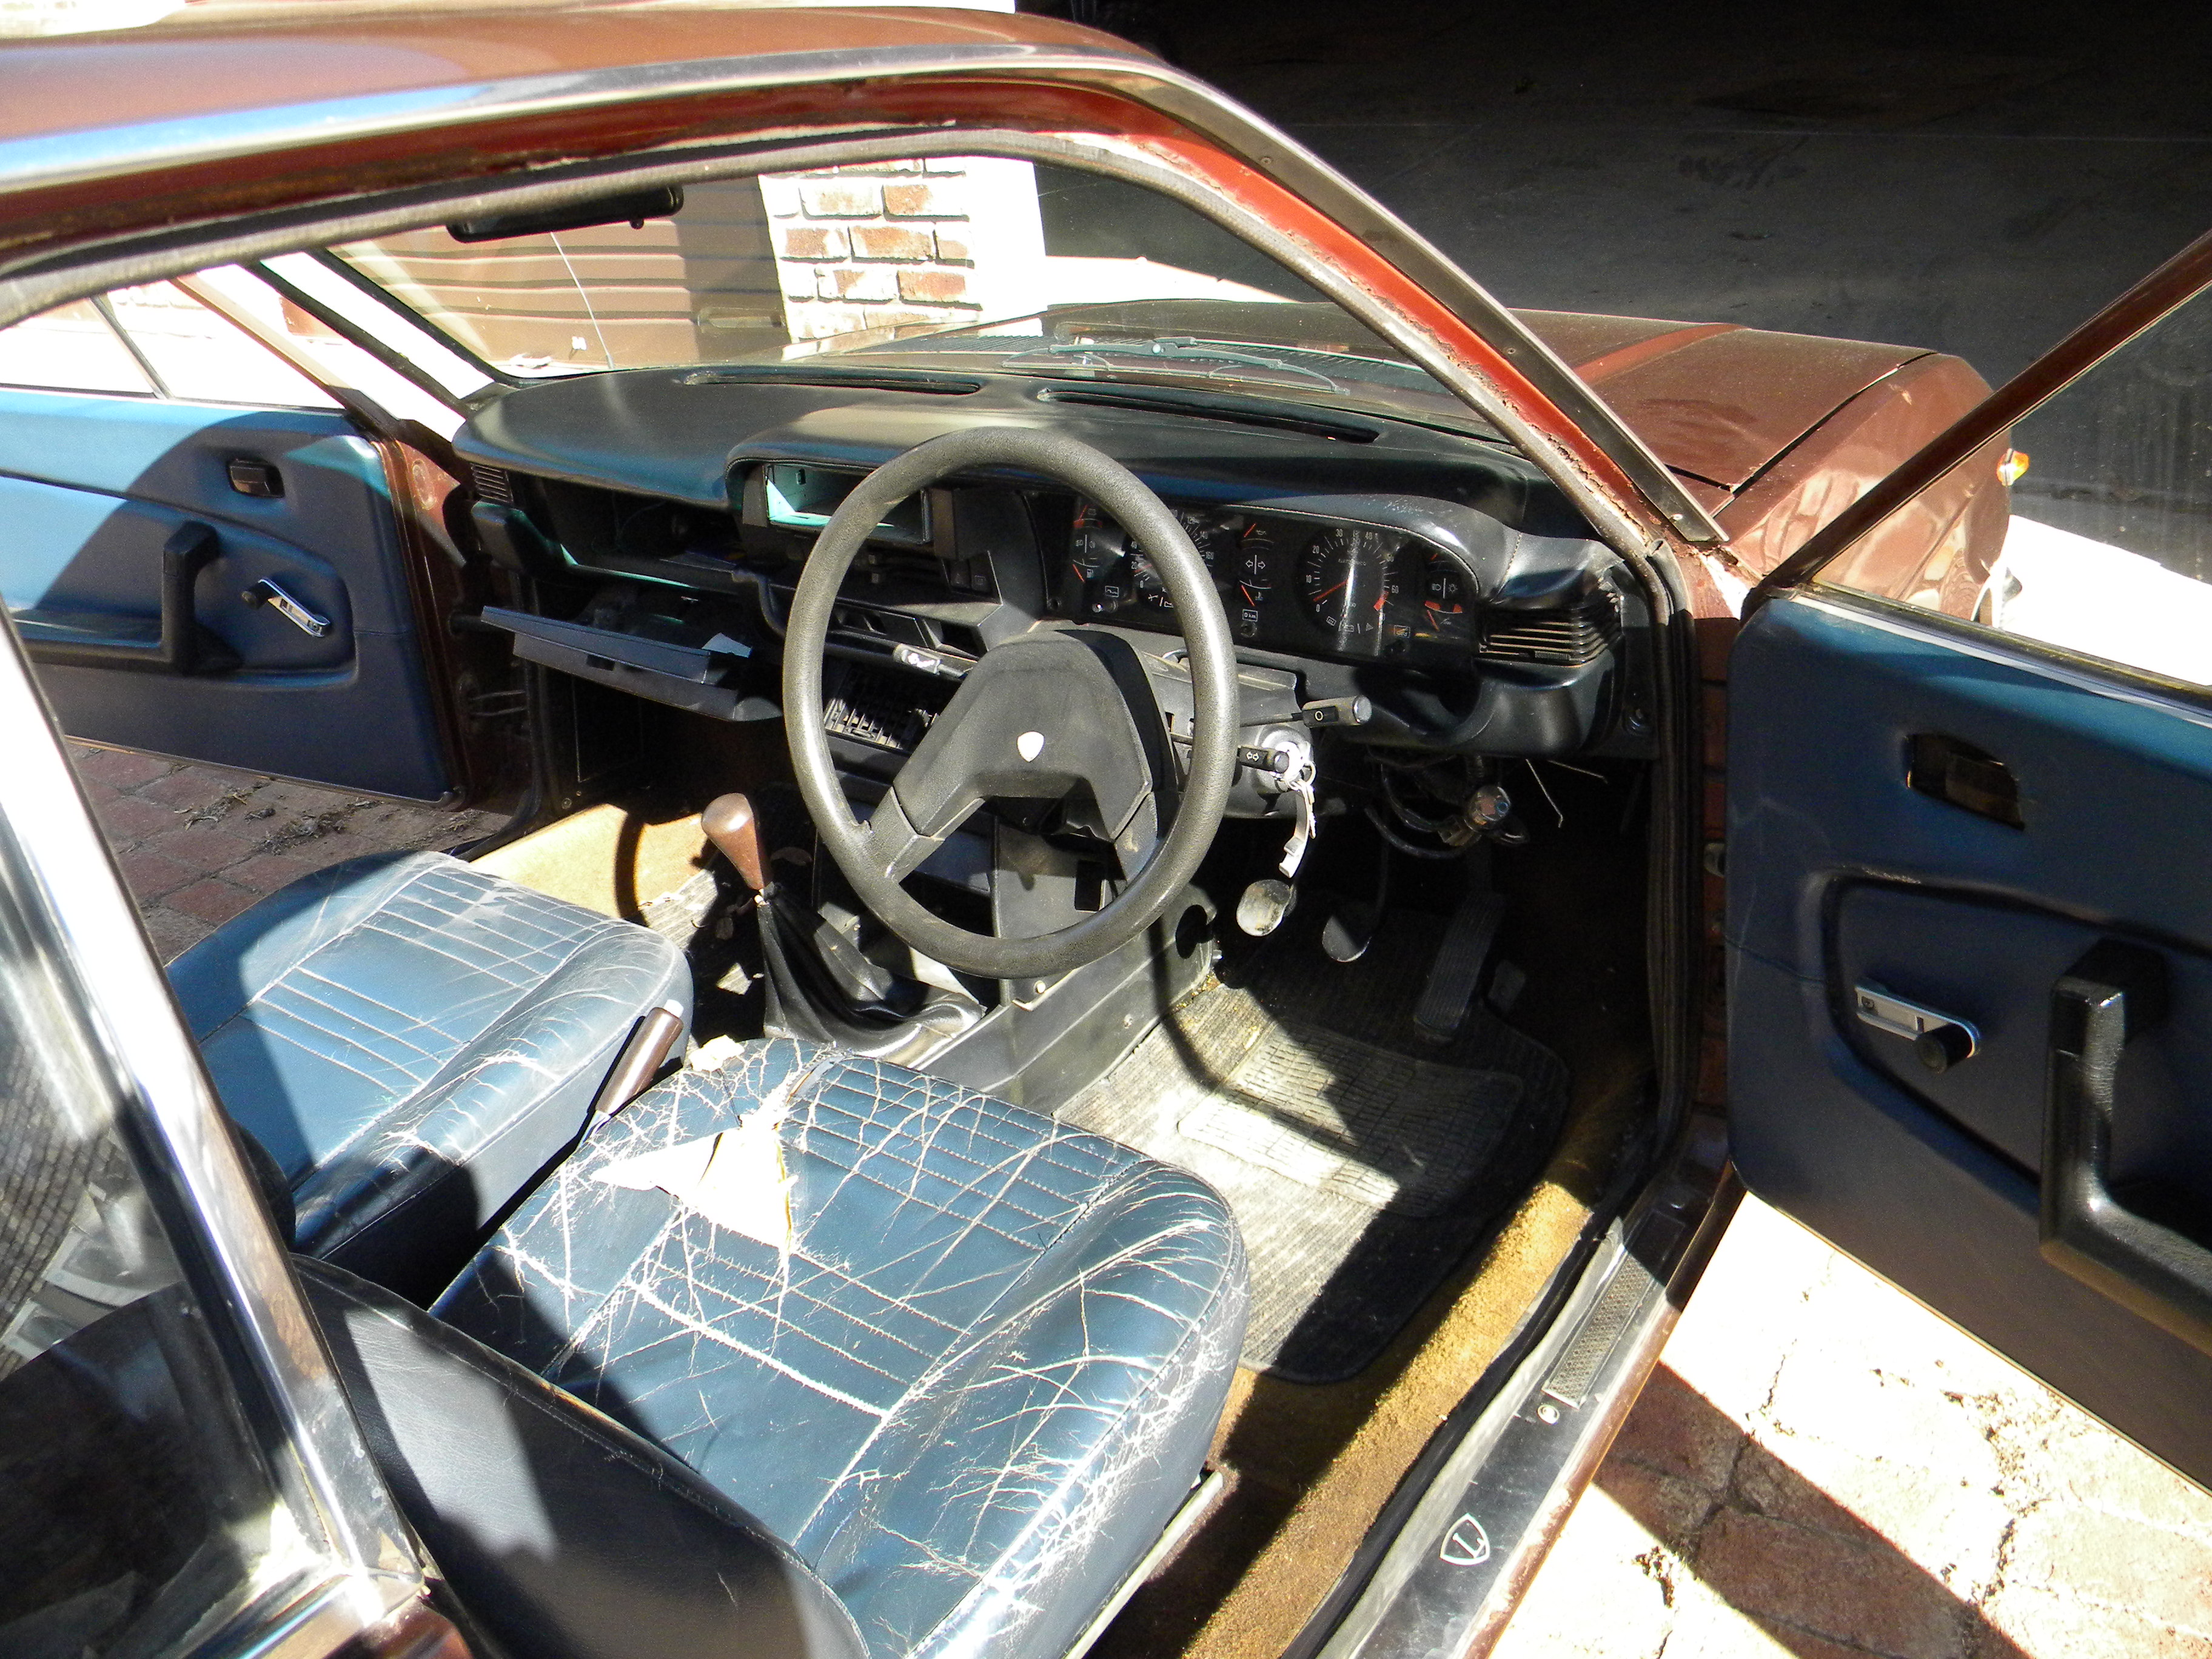
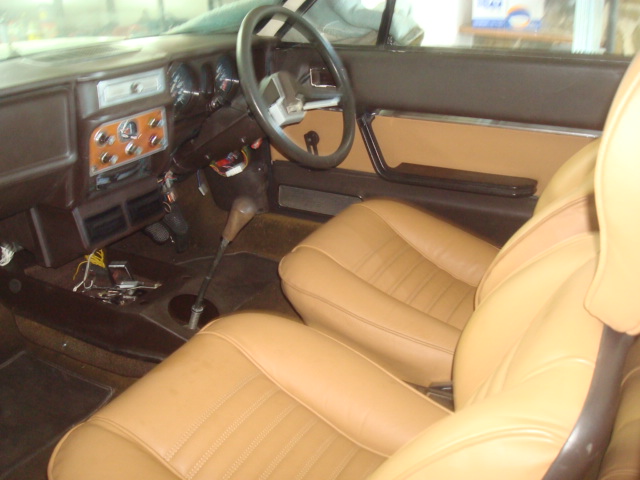
So finally the leather sets got fitted with the door panels. Now it starts looking like a car :)
This is only a fraction of the issues we have encountered, this story will be continued but for now I have t o go back to work.....